

How to Run Successful ELA Centers
For K-1 students, centers are one of the most developmentally appropriate things that you can do for them. Centers give students the chance to independently practice the skills we have taught them so that they can apply their knowledge to different tasks, they help students follow directions and expectations that we have put in place for them, and they also give students the opportunity to manage themselves while they work amongst a group of people (just like they will end up doing in the “real world” when they grow up!). I introduce one ELA center a week until we are doing five 12-minute centers a day. During this time, I am also meeting with small groups of students to teach systematic phonics or guided reading instruction. You can see a break down of my centers and the resources that I use below!


ELA Digital Rotation Board with Automatic Timers
The digital rotation board is the backbone of my ELA center operation and can be found here. This rotation board comes with several built in timer options, with editable clip art options as well. I love using a digital rotation board because the timer counts down and the slides move on their own!
After the slide switches, it moves (and a bell chime sounds off) to a clean up slide. Students get time to clean up their stations so that they can get ready for the next station slide. This allows me to continue working with groups without having to worry about moving rotations on a board.


Center #1: Read to Self
The first center that I introduce to my students is independent reading, but I call it “Read to Self.” I have an entire blog post written about how I introduce and practice independent reading throughout the week that can be found here. Our goal is to build reading stamina, and to continue building it throughout the year. This is the only station that we do for the whole week, and I monitor students heavily during this time. Later on after all 5 stations are introduced, I let students make choices about where they would like to sit during this time. They can sit on a scoop rocker, wobble cushion, or yoga mat.
The visuals above can be found in my Good Fit Books Pack Here, or my Super Readers Pack Here.
Information (and product links) about how I manage and organize my classroom library can be found at this blog post.

Center #2: Read to Someone
The second center that I introduce to my students is “read to someone.” I use the expectation visuals from my ELA Expectation Visuals Pack to teach and model how this time should look. Students are able to find a spot around the room to sit. Later on once all 5 stations are introduced, I introduce students to the “someone spots.” Students are then able to grab a colored squishy spot to sit on.
Since we practiced “read to self” for the first week of stations, I now add in the “read to someone” station so that we are doing two stations. I begin using my ELA Digital Rotation Board, but I only use it for two rotations. That means I divide my class into two halves: one half that does “read to self”, and the other half that does “read to someone.” I only set the timer for 8 minutes. When the timer goes off, the board switches to the next slide and the groups are switched. Whoever was reading to self is now reading to someone, and whoever was reading to someone is now reading to self. Using the rotation board this early on helps students get used to it and the quick clean up transitions between each slide.

Alternate Center #2: Seesaw Phonics
Towards the middle of the year I noticed my students needing more phonics instruction as we learned more complex sounds. I wanted to give them another opportunity to independently work on the phonics skills that we were working on in class, but I didn’t know where to find that time.
I ended up taking “read to someone” out of our center rotations (since they hear someone else read to them during the listen to reading center) and adding in the “technology” station option on the digital rotation board. During this time, students would work on an interactive Seesaw activity. I found this to be more beneficial and they LOVED it! Seesaw is a free app and you can find my Seesaw activities here.


Center #3: Word Work
The third center that I introduce is Word Work. This is usually a class favorite because I change out word work weekly to keep it fresh. I teach students how to do word work with the help of these ELA Expectation Visuals. On the first day of each week, I hang up new word work examples in the four dry erase pockets that hang on my wall above the word work bins so that students can see examples of what is expected of them. I do a combination of these hands-on Word Work Builders, these fun Word Work Printables for any word list, these Holiday Word Work Printables for any word list, and these Science of Reading Hands-On Centers. We practice whatever word skill we are currently working on (ex: if we are working on short vowel A, then students are writing and making short A words). Students bring their word work back to their desk to work on it.
We continue using the digital rotation board this week, but with 3 stations instead of 2. I have to maneuver some of the student names around to make each group even, but it ends up working well. I continue to run the 8 minute timer per rotation, and I monitor students in each center and provide feedback.
Students turn in printables to my Turn In Bin, but I also just trust that they are doing what they are supposed to be doing. I always say that if kids are skipping through the work and are saying it’s boring, then it probably is. If they’re engaged and having fun, then you’re doing something right.
To read about my 10 favorite low-prep but hands-on Word Work stations, visit this link.
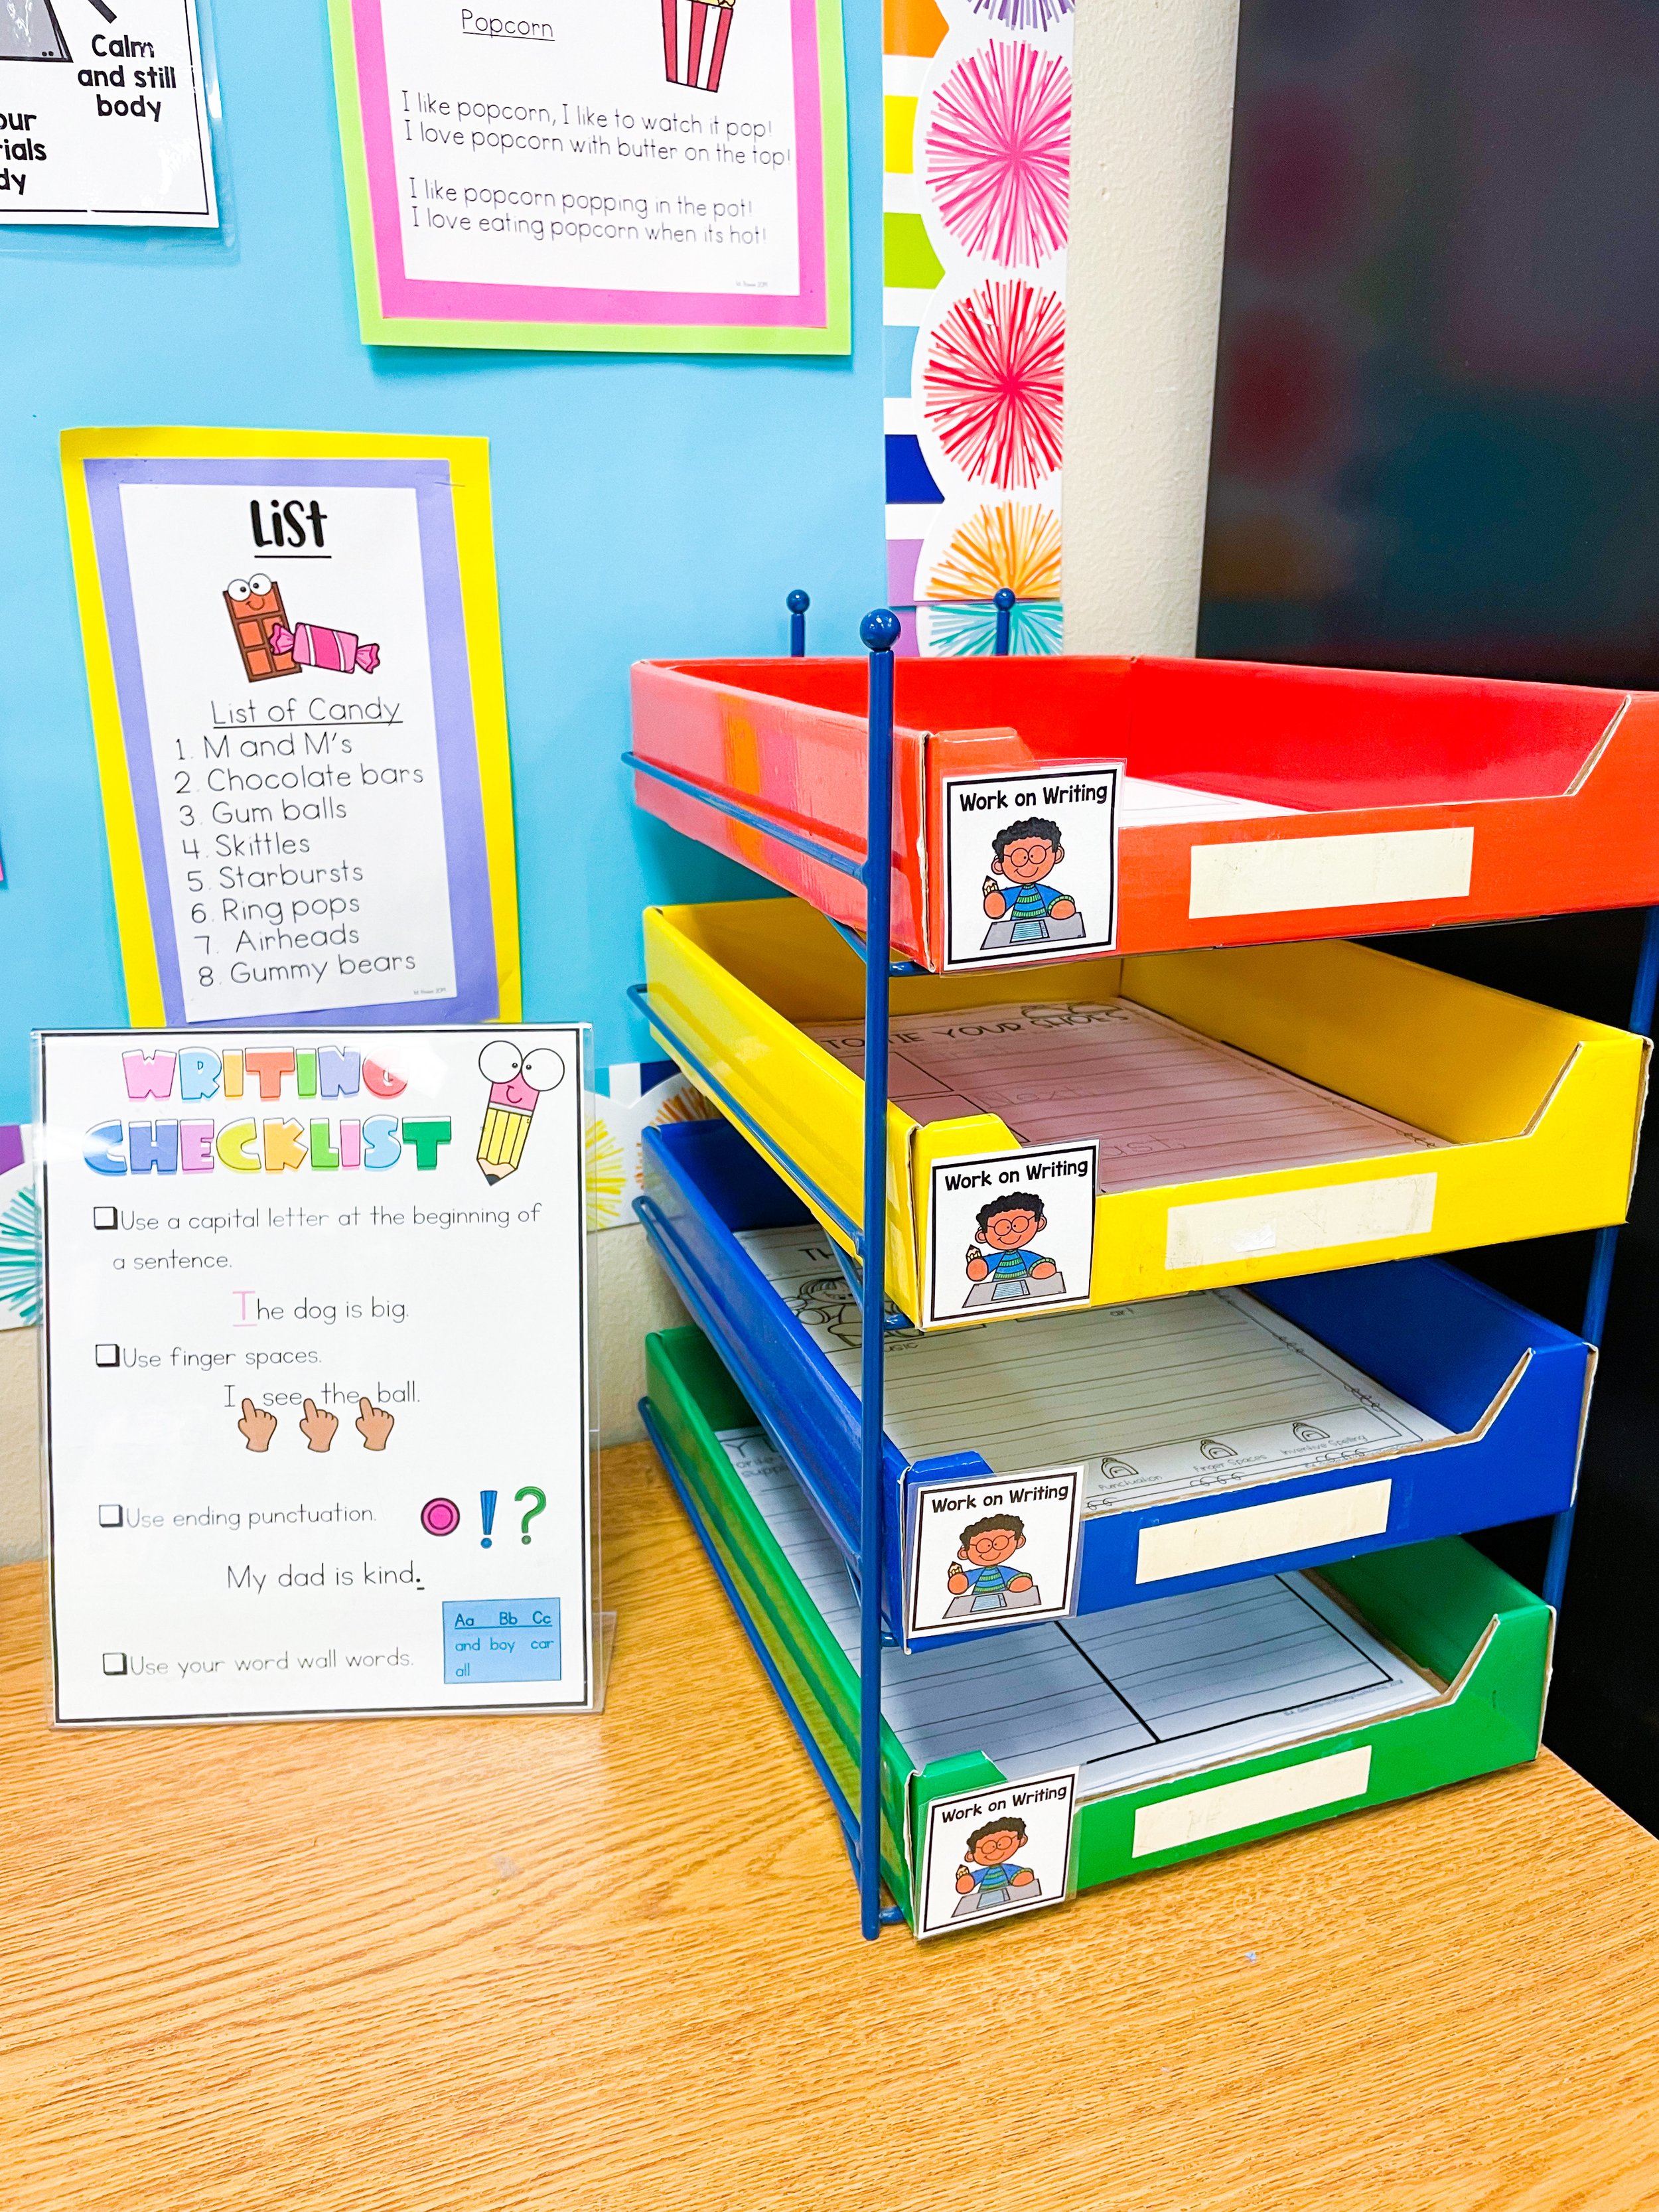


Center #4: Work on Writing
The fourth center that I introduce is “work on writing.” I use my ELA Expectation Visuals to teach and model how students should look in this center. Students sit in the writing center (Writing Center Bundle found here) and they choose a paper option (list, card, lined story paper, letter stationary, etc.) from my writing paper templates and write the entire time. I have students turn their writing in to my Turn In Bin (or keep it in their writing folder if they aren’t finished with it) so that I can see the quality of writing that they are working on in this station.
We continue using the digital rotation board, but this time we do all 4 stations for 10 minutes each. I continue to monitor and provide feedback. Since we are almost done learning all 5 stations, students are generally very good at rotating and cleaning up at this time.


Center #6: Reading Fluency
The fifth and final station that I introduce to students is “reading fluency.” I use the ELA Expectation Visuals found here to teach and model how this station should look. Students grab a decodable sentence ring, and one of the “I can read like a…” cards and they practice reading the sentences in their regular voice first, then in the fun voices on the “I can read like a…” card. I add in different phonics skill decodable rings as the year goes on so that students are able to read sentences with new skills that have been taught in our classroom.
By the fifth week, we are doing all rotations on the rotation board for 12 minutes each. I evenly disperse student names between each station on the board.

What About a “Teacher Table” Center?
I pull small groups from their center. Since centers stay the same throughout the week, I know that students will get to that center later on in the week. I don’t like limiting each of my small groups to 12 minutes (sometimes they run longer) so I just let students work while I pull groups. This has always worked well for me.


Links and Extras
· My “READ” pom pom wooden letters are from Hobby Lobby. I hot-glued 1-inch pom poms onto the wooden letters. The pom poms that I got are linked here.
· My pom pom lamp is linked here. I used the same pom poms that I used on the READ letters on the lampshade.
· Black/bright A-Z rug linked here or here
· White IKEA Bookshelves linked here
· Scoop Rockers are linked here
· Rainbow Reading Spots are linked here
· Wobble Cushions are linked here
Want to see a digital rotation board in action? Here is a short video! This is a model rotation board that I created, but you can choose which centers you’d like to do. You are also able to add in your own photos to each slide. In my own classroom, I include the clip art picture for each station (since those are the same clip art visuals that I use on the ELA Expectation Visuals) as well as a small picture of the center area (ex: if the station is Word Work, I also include a picture of the word work trays). This helps to keep everything running very smoothly, and I have found that more cohesive visuals will help students greatly.
Wishing you the best of luck as you set up your ELA Centers for the year! Remember, practicing and modeling expectations often is the key!
